Policy Stack accepts annual statement uploads during the Add Policy wizard's Past History step and from an existing Policy Workspace under Analytics. Both flows use the same AI extraction and review process.
Whole life only. Annual statement upload applies to whole life policies — that's where carriers issue the cash value / death benefit / loan balance values that snapshots capture. Term Life and Convertible Term Life policies (selected in Step 0 of the Add Policy wizard) don't generate carrier statements with values to extract; they capture the carrier, term length, expiration, and annual premium up front and don't use this flow.
What Are Annual Statements?
Annual statements are documents issued by your carrier — typically once per year — that summarize your policy's current values. They include cash value, death benefit, loan balance, and dividend information.
Annual statements are not the same as a current portal snapshot. Annual statements are point-in-time records (usually dated around your policy anniversary). For your most current balances, use Step 3 of the Add Policy wizard (Today's Snapshot) or record a manual snapshot from your carrier's online portal.
Upload Process in a Policy Workspace
- Navigate to your policy — click on the policy in the Policy Portfolio
- Open Analytics — snapshots, annual statements, and recorded policy history live in this tab
- Choose Add Annual Statement — use the Record menu or the action in Analytics, then select the statement file
- Review extracted data — Policy Stack extracts key values from the document for your review
- Confirm all four values — verify Total CV, Net CV, Loan Balance, and Death Benefit. Save stays disabled until each is filled in (
$0is acceptable for Total CV and Loan Balance; Death Benefit must be greater than zero). - Create snapshot — once confirmed, the values are saved as a new snapshot for that statement date
Starter includes extraction during first-policy setup. Ongoing annual-statement and snapshot extraction requires Builder Pro; Starter users can enter those later values manually.
Total CV and Net CV
Extracted statements populate two cash value fields:
- Total CV — gross cash value before subtracting loans
- Net CV — Total CV minus the outstanding loan balance (your accessible equity)
The identity Policy Stack uses everywhere is Total CV = Net CV + Loan Balance. Carrier portals and statements vary in which value they show first: some lead with Total CV, some lead with Net CV. The extraction reads whichever one your document presents and uses the loan balance to fill in the other side.
Net CV in Policy Stack reflects the loan balance deduction only — it does not include surrender charges. If your statement labels a value "Cash Surrender Value" that appears lower than expected, it may reflect early-surrender charges rather than loans. In that case, use the "Net Cash Value" or "Total Cash Value" line from your statement.
Confidence Legend
After extraction, each field shows its confidence as a percentage, so you can see at a glance how clearly each value was read:
| Confidence | What it means | Action |
|---|---|---|
| 90% and up | Read clearly | Verify and proceed |
| 70–89% · "Review" | Worth a second look | Check the number against your statement |
| Below 70% · "Low — verify" | Needs your attention | Compare against the original statement |
Fields below 70% that have no value must be addressed before saving.
Supported File Formats
- PDF — the primary supported format for annual statements
- Scanned documents may have lower extraction accuracy than digital PDFs
Multi-File Upload for a Single Snapshot
A single annual statement is sometimes spread across multiple pages or screenshots — Total CV on one page, the loan balance on another, Death Benefit on a third. The Add Snapshot dialog accepts multiple files in one go and merges them into a single extraction.
Choose Save snapshot after reviewing the values. If an attachment fails after the snapshot saves, the dialog says Snapshot saved and offers Retry attachments. Retry uploads only the failed source files; it does not save another snapshot. Closing at that point keeps the recorded values.
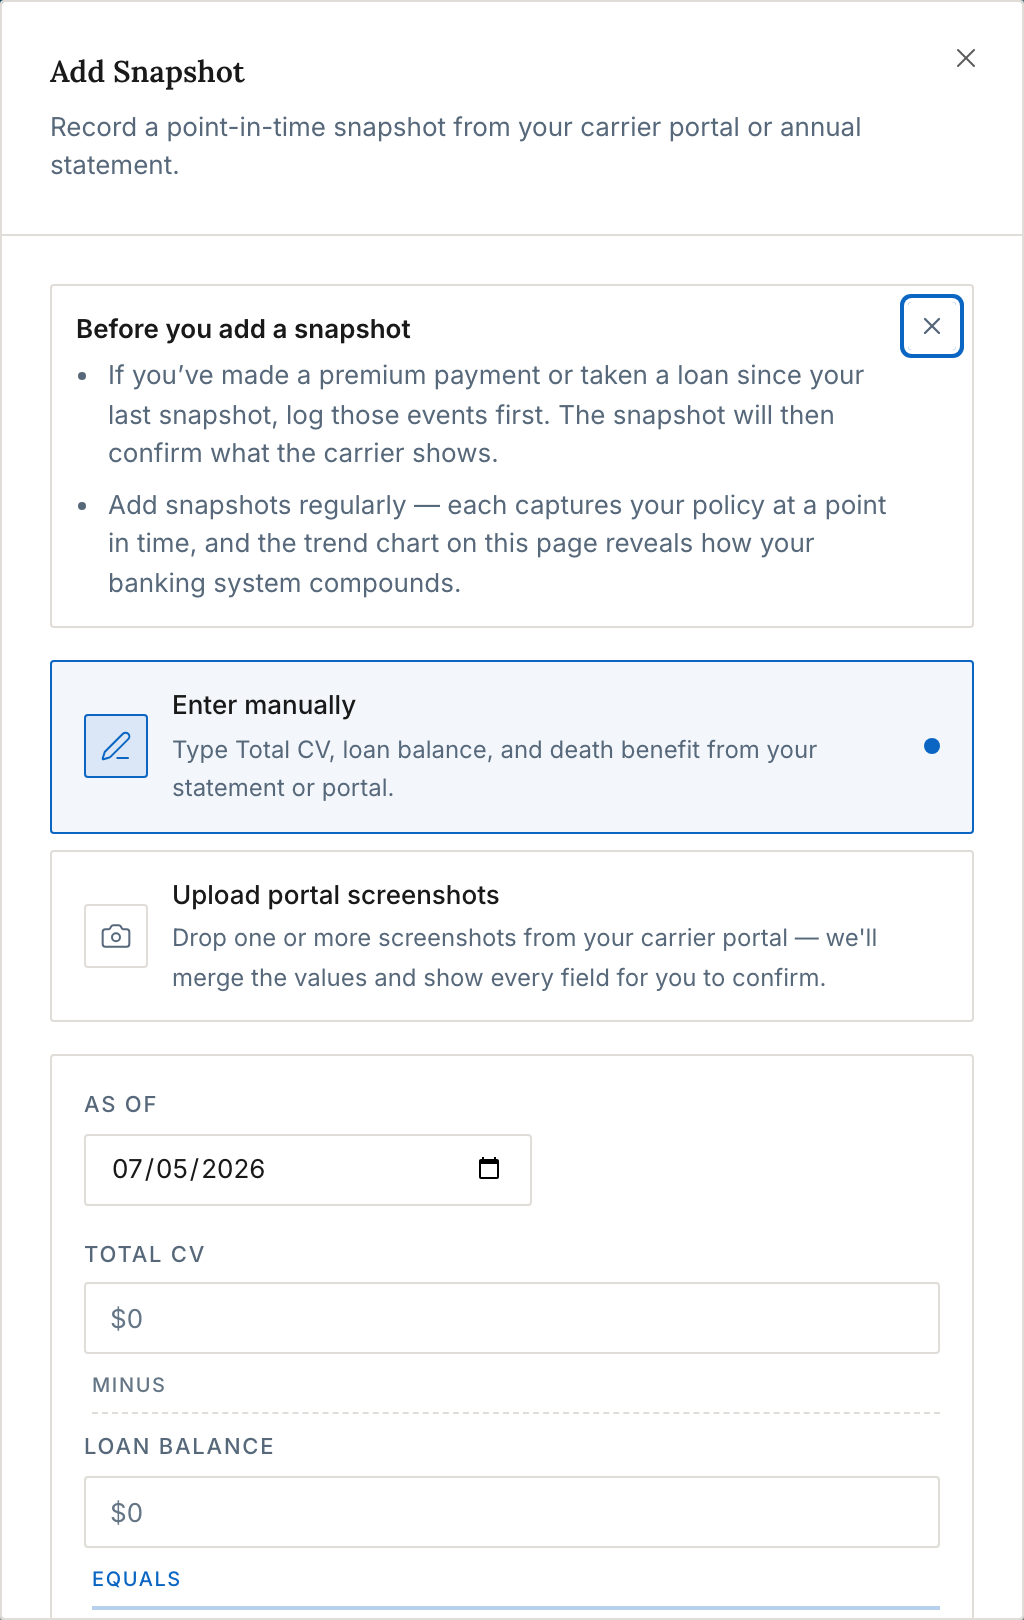
- Open Add Snapshot — use the Policy Workspace Record menu or open Analytics, then choose the AI path
- Drop or select multiple files — every file you stage shows in a removable list (you can also page through them with the prev/next arrows in the preview pane)
- Click Extract values — extraction only fires when you click the button, so you can stage and reorder files first
- Confirm all four fields — Total CV, Net CV, Loan Balance, and Death Benefit are reviewed together; contributing filenames are listed on the extracted card
- Save the snapshot — one snapshot is created from the merged extraction
The Add Annual Statement dialog works the same way — stage several pages, page through them with the prev/next arrows, and extract once. Every file you upload is kept as its own document on the policy; the policy's Documents tab groups them under a single "Annual Statement" card by statement date, so you can reopen any individual page without the tab filling up with N identical-looking entries.
For multi-year history, you can run the same flow once per statement date — each saved snapshot adds a row to your timeline.
Tips for Accurate Data
- Use digital PDFs when available — these produce more accurate extractions than scanned paper documents
- Check every extracted value — always verify extracted data against the original document before saving
- Record the statement date — use the date printed on the statement, not the date you upload it