This guide walks you through your first session with Policy Stack. By the end, you will have your first policy snapshot recorded and a working dashboard with your week-one quests.
What You Will Need
Before you begin, gather the following:
- Your most recent annual statement from your carrier (PDF or paper)
- Your original policy contract (the spec pages show base premium, PUA rider, and term rider amounts — uploading the full contract works too)
- Approximate loan balances if you have any outstanding policy loans
Step-by-Step Walkthrough
The first session has one job: record your first policy snapshot. If your advisor already loaded your policy, that's the only step. If your household is empty, add the policy first.
- Sign in to your account — use your email link or Google sign-in. A short lesson runs the first time; you can skip it
- Record a policy snapshot — Home leads with this card. Log in to your carrier's website, take screenshots of the policy page, and upload them. More than one is fine. Policy Stack pulls the numbers out and asks which policy they belong to
- Add your first policy (empty households only) — click Add a policy on the same card and enter the details from your original contract
- Add your loans and other debts — the second week-one quest. This unlocks your payoff plan
- Look at your banking ledger and set one goal — the last two week-one quests
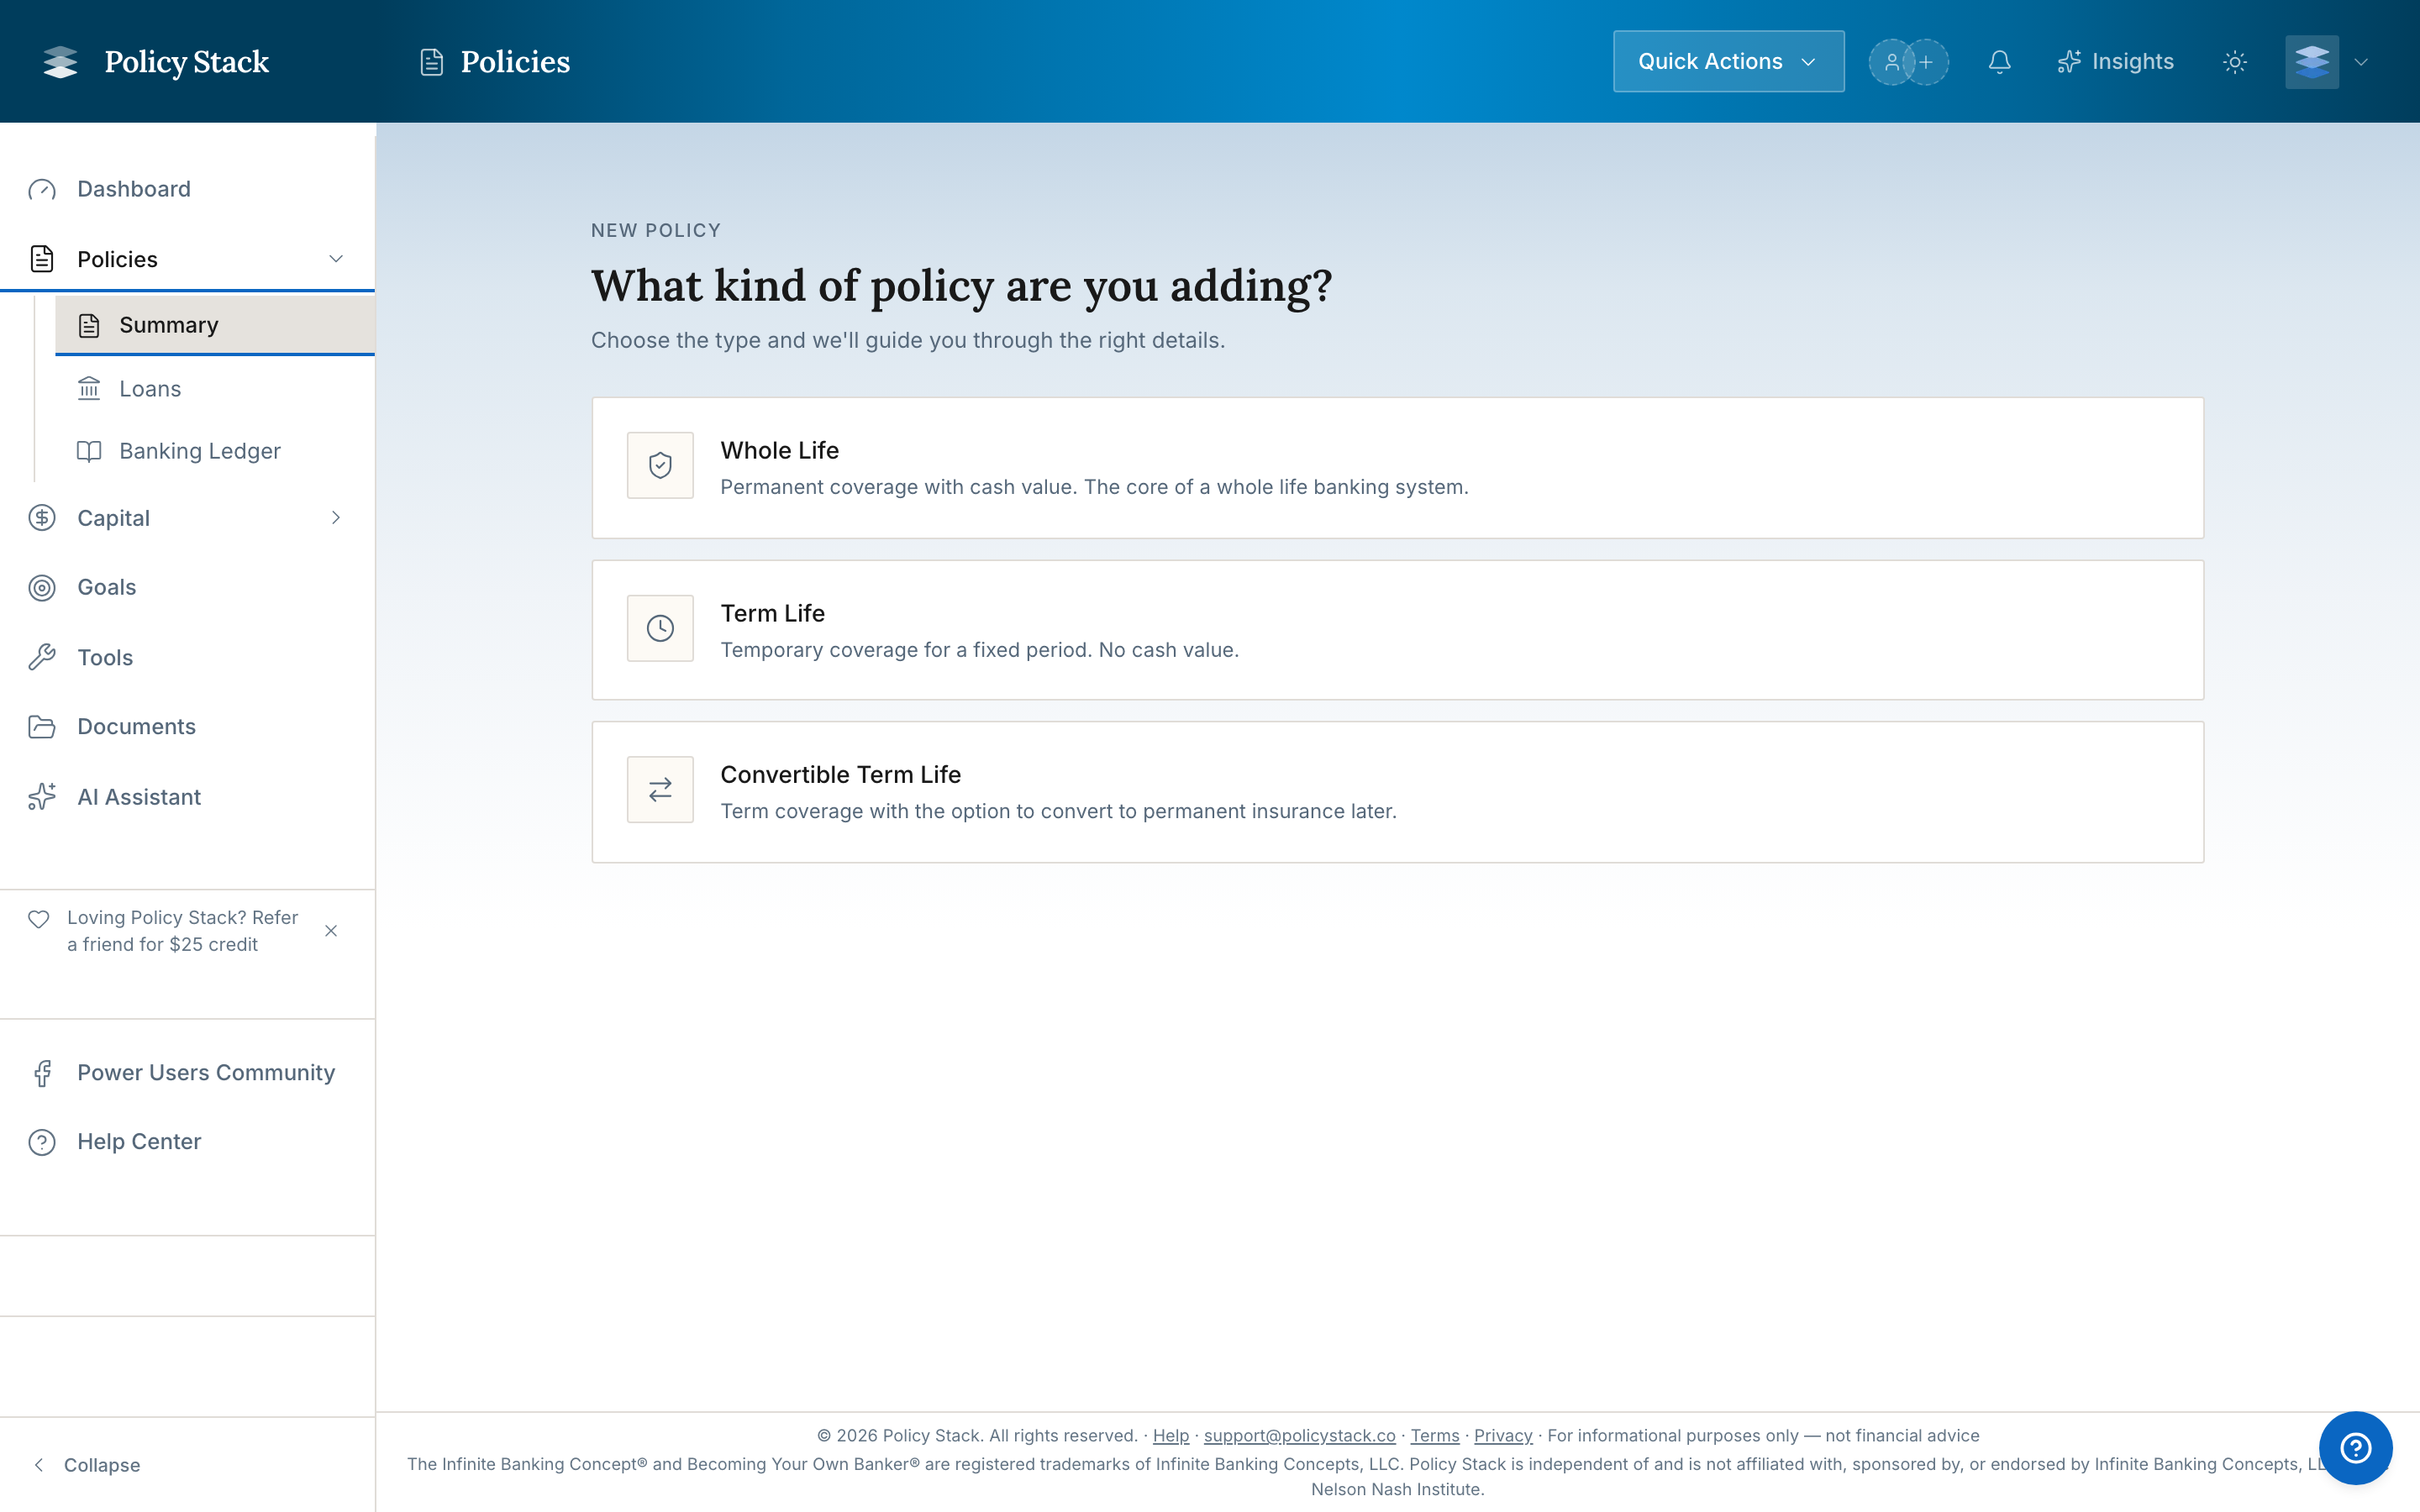
You will see step 2 or step 3, never both — step 3 replaces step 2 only when your household has no policy recorded yet.
What You Will See
After completing these steps, your dashboard will show:
- Your banking system is live — the first snapshot plots as a dot; every snapshot you record adds another, and the line is yours
- Key metrics — Actual Total CV and In Use plus Projected monthly cash flow
- Banking History — recorded cash-value history and source-linked activity across the snapshots you entered
- Data Freshness — current, aging, stale, or missing policy records
You can add more policies and snapshots at any time. Each new snapshot creates a point-in-time record, building a history of your banking system over time.
Next Steps
- Record a policy loan if you have any outstanding loans against your policies
- Add an asset to track where your deployed capital is working
- Explore the tools like the Debt Sequencer and Income Stacker